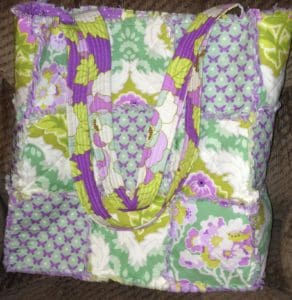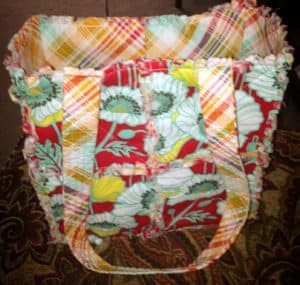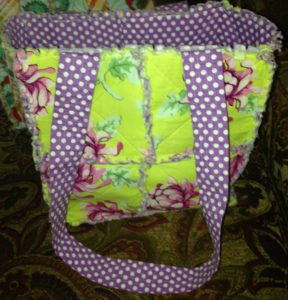
Super fun and easy rag quilt bag
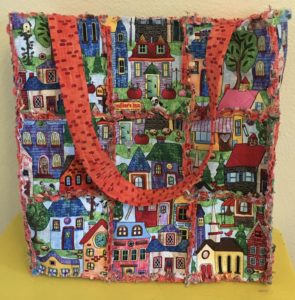
I am super excited to share this rag quilt bag tutorial with you. I haven’t been sewing very long, and this was a simple bag to make. The beauty of this rag quilt bag is that if you make a small mistake, it won’t show. The rag quilt bag is a fun start for a beginner.
The bags are also fun to use, and make great gifts for teachers, friends, or family.
In this tutorial, I will be showing you how to make a bag with 9 squares on the front, 9 on the back, 3 on each side, and 3 on the bottom. You can make these bags with 4 squares on the front and back, 2 on the side and 2 on the bottom, or any combination you decide to create.
Step 1
Cut your fabric. (I tend to get too much fabric because I am afraid of running out, so you will have leftover).
- Inner Lining – 2 yards of material (You will use this for the straps, as well)
- Outer Lining – 1.5 yards of material
- Stiff Stuff interfacing – 1.5 yards
- Cut two straps, from the inner lining material, into 3.5″ x 27″ (You can make your straps 4″ wide if you like thicker straps).
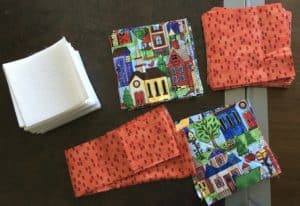
- Cut your fabric into 6″ x 6″ squares. You will need 27 squares for the outer lining and 27 squares for the inner lining. If you would like to have a pocket on the inside, you can cut 1 more outer lining and 1 more inner lining square.
- Cut your Stiff Stuff interfacing into 5″ x 5″ squares. You will need 27 squares total. (28 if you would like to have a pocket). I like Stiff Stuff because it gives the bag a little bit of stiffness.
Step 2
Begin sewing the squares
- Place the interfacing on the inside of the outer and inner shell piece, like a sandwich. Make sure you have the right side of the material facing out on both sides. (See picture below).
- Starting at each corner, sew an “X” on each square. Use a straight stitch, and you don’t need to backstitch here.
- Sew 27 squares
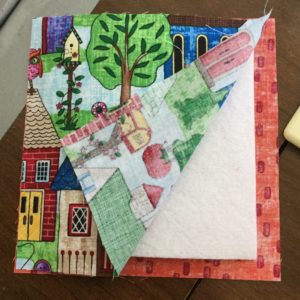
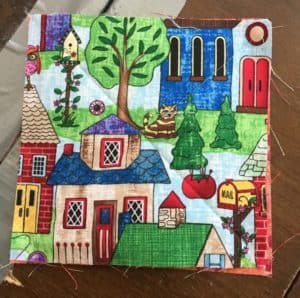
Front of the square. If you look closely, you can see the “X”
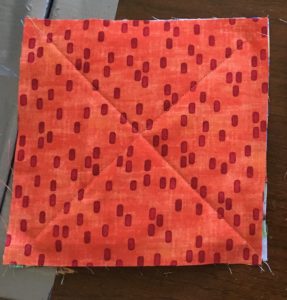
Backside of the square
Step 3
Piece the squares together (Use a 1/2″ seam)
- Piece three squares into a row. (Backstitch when you sew these pieces together).
- When you begin to sew the pieces together, lay one square on top of the other, with the inner liner material facing each other. Sew a 1/2″ seam allowance and sew a straight line. Connect the next piece. (See picture below).
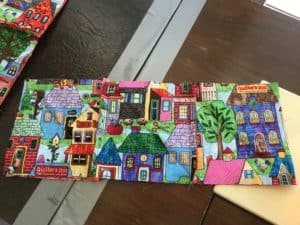
Three pieces are sewn together above.
- Piece the three rows together to form a total of nine pieces on the front and nine on the back of the bag. Notice the seams will be sticking up.
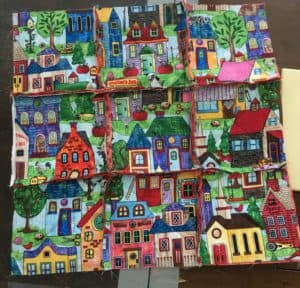
A panel of nine (this is what the front and back panel will each look like).
Step 4
Sew the front and back panel to the bottom
- Lay the bottom panel of three against the front panel and sew together.
- As you sew across the squares, don’t sew all the way to the end. Stop sewing about 1″ from the end, and backstitch. This will allow you to sew the corners easier as you continue to piece the bag.
- Next, sew the back panel onto the bottom.
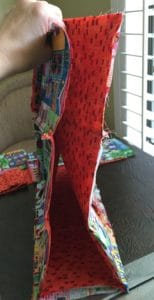
If you’re going to add a pocket, now is the time to do it. The pocket is optional. The following is a description of how to do the pocket.
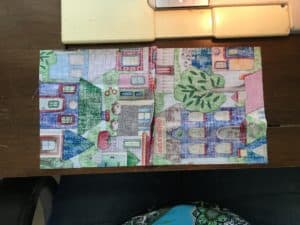
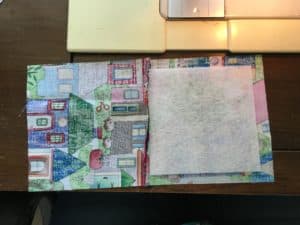
- Use two pieces of outer lining and place the right sides together and sew along the top. Next, place one piece of Stiff Stuff inside and close the top piece over it. Finally, sew an “X” on the outside.
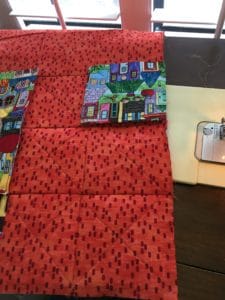
- When you are sewing the sides, place the pocket just above the bottom of the bag, like in the picture below. Next, lay the side on top of the pocket and sew. (See pictures).
Step 5
Sew the side panels on
- Sew the first side panel on. Line it up to the top and side of the bag (It’s upside down in the picture below). You can see that the side panel will overlap the bottom by about 1/2″ to 3/4.” That’s ok.
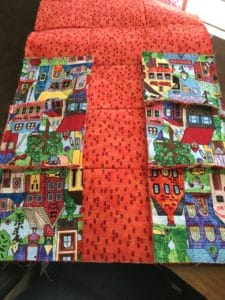
Step 6
Sew the bottom to the other side.
- Hold the bottom to the other side, and sew together.
- Repeat on the other side.
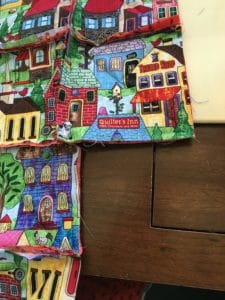
This is what the corner will look like before you sew the side and bottom together.
Step 7
Sew the sides together
- Hold or pin the sides together and sew with a 1/2″ seam all the way to the top. If it comes out uneven at the top, that is ok. It will work out when you rag the bag at the top, and no one will ever know.
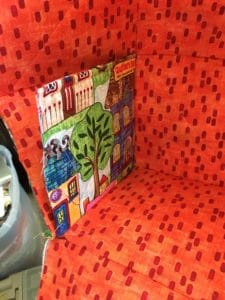
Step 8
Sew the straps
- Fold the strap in half, with the right sides facing each other.
- Sew along the side, with a straight stitch. 1/4″ seam allowance.

- Turn inside out. (See tool below).
- Measure the width of the strap, and cut the Stiff Stuff to that measurement.
- Pull the Stiff Stuff through with the safety pin.
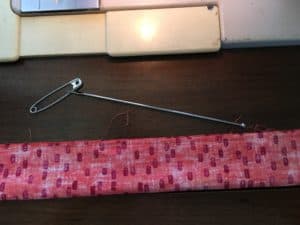
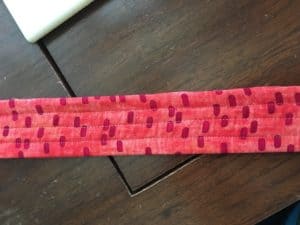
- Once the Stiff Stuff is inside of the strap, sew three straight lines the length of the straps, as seen in the picture above.
Step 9
Sew the straps into the bag and sew around the top of the bag.
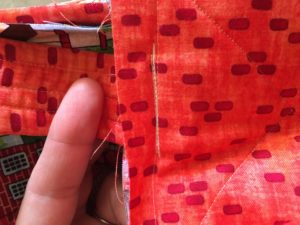
- Sew around the top edge of the bag. Sew a 1/2″ seam all the way around the top. As you sew, slide the straps about one inch into the middle of the outer two squares, as seen in the pictures. (You will be able to slide the straps in between the sandwiched piece.
- I always sew back and forth across the straps to give it more stability (in the picture above).
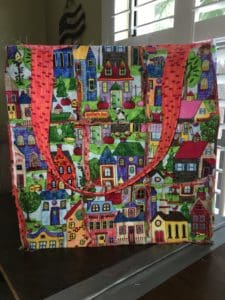
Almost done!
Step 10
Cut the seams on the outside to make it a rag quilt bag. (See picture below).
- Make small cuts along ALL of the outer seams. Keep slits about 1/4″ apart. If it’s not perfect, that’s ok. Make sure you do not cut too close to the seam, or you will accidentally cut the stitching (speaking from experience, here – oops).

Woo hoo! You’re done sewing!
Now, add it to the washer on the delicate cycle.
When it’s done washing, pop it in the dryer on the delicate cycle. The more you wash and dry the rag quilt bag, the prettier the edges get. You are done! Be proud of your accomplishment!
I would love to see your bags. Please take a picture and share in the comments, so we can all enjoy the fruits of your labor!
If you have any questions, please email anytime! 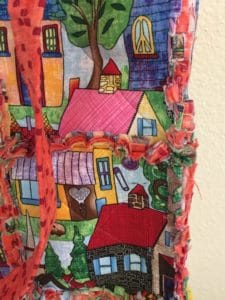
Extra tips:
- I used a walking presser foot. Here’s an example of the foot I used. It helps when your fabrics are thicker. It will keep the material from bunching up.
- I alway add a color catcher into the wash to keep the colors from fading onto each other. Here’s a link to some that I use: Color Catcher.
Here are some other rag quilt bags I have made. They are so fun!
